A blog describing my journey painting and battling with a Warhammer Fantasy Battle Orc Army and a Warhammer 40k Dark Angels Army using the Army Painter dip.
Showing posts with label 40k. Show all posts
Friday, June 6, 2014
Hovering Vengeance
The second Ravenwing vehicle was painted with the same technique as the first one, however, I did learn a few things from the Nephalim. First, I was much more aggressive with the blue edging highlights. This is really what makes the model pop, and the best effect is achieved when all edges have an even blue tone. The bone highlight is what is used to bring up certain corners and give the model dynamism.
Otherwise, this was a very quick and enjoyable paint job. The cockpit instrumentation turned out really well and adds great detail to an otherwise fairly mono-chromatic model. And thanks to my experience with decals on the Devastators, I added the skull decal on the gunner without problems. Again, I had to score the decal to allow it to wrap around the shoulder pad.
Next up, Dark Angels go camping. Or rather scouting..
Sunday, May 25, 2014
Attacking with Bikes
This miniature taught me a valuable conversion lesson. No matter how seemingly trivial the change, always double check your results. I decided to make the bike a Raven Wing machine by adding two wings to the sides of the main bike armour. Super simple and adds a nice visual detail. I did not, however, remember about the driver. After the model was assembled and painted, I tried slotting the driver into his position and discovered that the wings block his hands from getting to the handlebars. Fortunately this was fixable by removing the lower portion of his backpack and gently nudging him in. Lesson learned: always double check the model after changing it.
The paint job was very simple, with the standard black armour and Army Dip to keep the model consistent with the rest of the force.
Next up, Raven Wing seeks vengeance..
Monday, May 19, 2014
You're a Devastator Now, Brother
This set of Devastators was painted with the usual dip method. The one new technique I tried was using decals for the Dark Angel shoulder pad insignia. As much as I enjoy playing around with the occasional free-hand design, I know that there is no way that I could do an acceptable job with the highly symmetrical and structured Angel Winged Sword. I am quite pleased with the final result! The one tip I picked up is that in order for the decal to adhere to the highly curved shoulder pad, it needs to be scored. Diagonal cuts create flaps, which allow the decal to wrap on itself, allowing it to become convex. The end result really does look painted on and I will certainly be using decals in the future.
Next up, we look to the skies..
Friday, February 7, 2014
The Razorback: Sword of Wrath
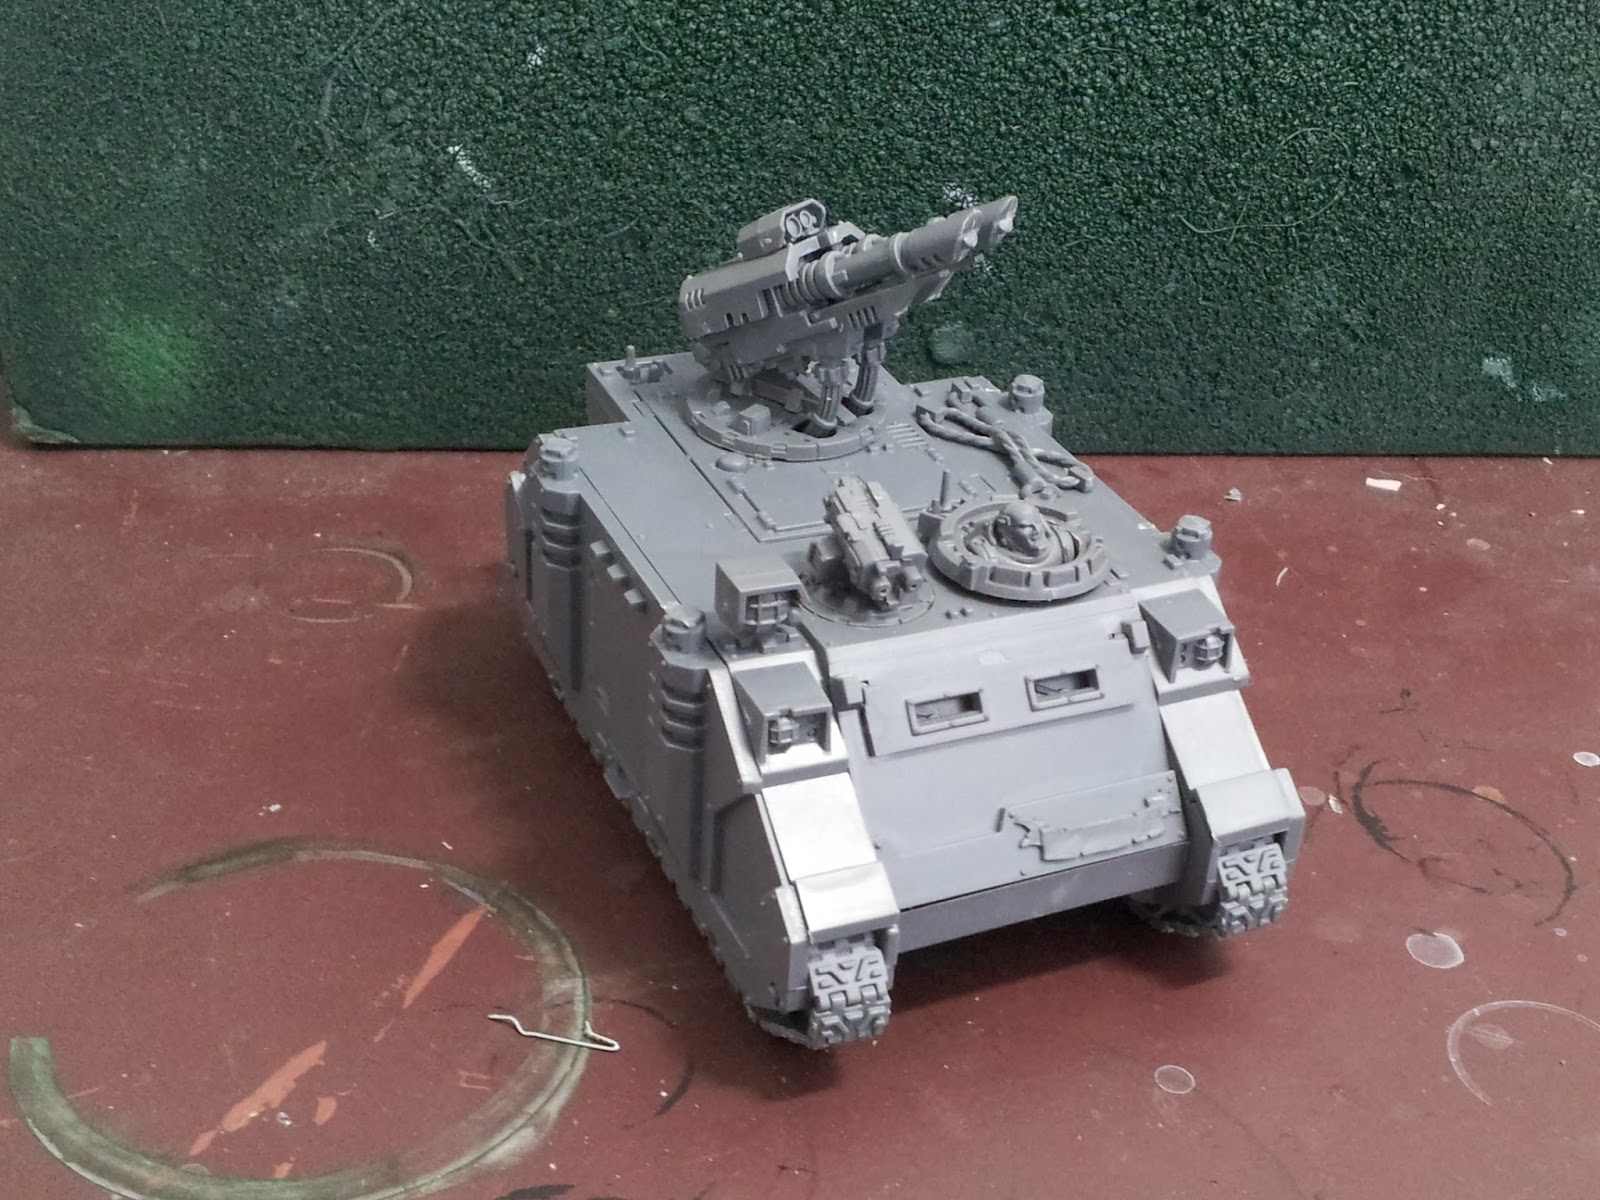
The Rarorback, which also doubles as a Rhino, is ready to go. My Dark Angels will finally not have to trudge across the battlefield on foot, but instead will be able to get around in style, inside Sword of Wrath's armoured hull.
The model was undecorated with Army Painter's excellent Angel Green undercoat, then painted with classic techniques including dry-brushing and blending. I also tried the new GW dark brown wash for the first time and was quite pleased with the results. It worked very well on the bone coloured scroll, the driver's face and the white angel ornament. For the text, the micron pen proved invaluable. If you like to do scroll work or writing, a 0.5mm pen is a must.
Up next, the 3rd company gets some needed air support!
Sunday, July 7, 2013
The Other Death Wing
The second squad of the Death Wing terminators has been completed. With this squad, I am finished all units of the starter box and now only have the Commander and Chaplain left before I can officially declare the starter box painted.
This second squad showed me the limitations and perils of the Army Dip. The dip became extra thick and it was very difficult to remove the excess. As a result, the whole squad came out looking a little muddy and I had to spend time re-painting and cleaning up the extra dark coat to bring back some of the original colour. Especially on the open sloping areas like the shoulders and back there was a distinct streaking effect. The final result is still very much solid table-quality, however, I am not happy with how the minis turned out.
I have thinned the dip with distilled turpentine for the next time. Hopefully it will work better.
What's next for the Dark Angels? I will get a couple of more games in and at this point the main problem I have is getting my Tactical Squads into the action. I think a Rhino or two are in order.
Tuesday, May 7, 2013
Heavy Footsteps
The army needed some heavy hitting so I decided to add a 40k classic: the Dreadnought. It's an iconic Space Marine vehicle and I chose to overlook their general fragility in this edition.
This is the first model that I magnetized and I am very happy with the results. I have now 4 options for my heavy walker, but I think that these two will be most common. The cheaper basic:
and the decked out heavy hitter:
I was a little apprehensive about using the Army Painter dip on a model this size, but the final results are not bad at all. The dip had the nice effect of giving the model a weathered look, which is great for vehicles. I spent a bit more time detailing and shading to bring out some highlights than I do on individual troopers and I'm quite happy with the result. Oh, and I used a Decal Softener from Flames of War. It really helped to blend the transfers into the armour. For a model this sized, I did not feel comfortable going freehand to paint the symbols and numbers.
I can't wait to see how this guy does in battle! Brother Serean has returned...
This is the first model that I magnetized and I am very happy with the results. I have now 4 options for my heavy walker, but I think that these two will be most common. The cheaper basic:
and the decked out heavy hitter:
I was a little apprehensive about using the Army Painter dip on a model this size, but the final results are not bad at all. The dip had the nice effect of giving the model a weathered look, which is great for vehicles. I spent a bit more time detailing and shading to bring out some highlights than I do on individual troopers and I'm quite happy with the result. Oh, and I used a Decal Softener from Flames of War. It really helped to blend the transfers into the armour. For a model this sized, I did not feel comfortable going freehand to paint the symbols and numbers.
I can't wait to see how this guy does in battle! Brother Serean has returned...
Saturday, April 13, 2013
On the Wings of Ravens
The dual Ravenwing squad is done and done.
I have to admit that I was wary of using the dip on a black armoured model, but the squad turned out rather well.
The one new technique I tried this time around is how to highlight black armour. I typically either went with dark gray to light gray dry-brush, or sometimes dark blue to white dry-brush, which works, but I the results were not satisfying. This time around, however, I tried medium blue and then bone to bring out the details. It worked better! The blue gives the models some colour and the bone highlights are softer than white. When combined with the wash, the black armour has some great depth, pigment and details. And the best part is that I was able to use gray on the tires, which made them stand out from the bikes. I will definitely use this in the future.
The army is coming together nicely. I can see the end of the Dark Vengeance double box.
Next up, I need a hero.
Wednesday, January 30, 2013
This Paint Job is Terminated...
Finally finished up my first batch of Deathwing Terminators. Br. Tremiel is ready to teleport into battle!
The dip worked very well with the bone base, which I expected and it also layered some nice depth on the white banner and parchment.
The banner gave me a chance to try simple free-handing of the Deathwing emblem, which came out rather well. I originally wanted to add some text, but ended up running out of space.
Two main lessons from this batch.
First, never ever use old primer. I do not know why I ignored this wisdom. The models ended up with a terrible, sandy texture which really obscured some finer detail on the robes and swords of the autogunner. Fortunately I was able to cover the damage and it's not visible on the finished models. But I was worried for a bit there.
Second, the P3 wet-palette is excellent for wet-blending. I only blended the power-sword, but this technique will be very useful on the character models.
Next up, my strike force gets some speed with a 6 bike Ravenwing squad.
The dip worked very well with the bone base, which I expected and it also layered some nice depth on the white banner and parchment.
The banner gave me a chance to try simple free-handing of the Deathwing emblem, which came out rather well. I originally wanted to add some text, but ended up running out of space.
Two main lessons from this batch.
First, never ever use old primer. I do not know why I ignored this wisdom. The models ended up with a terrible, sandy texture which really obscured some finer detail on the robes and swords of the autogunner. Fortunately I was able to cover the damage and it's not visible on the finished models. But I was worried for a bit there.
Second, the P3 wet-palette is excellent for wet-blending. I only blended the power-sword, but this technique will be very useful on the character models.
Next up, my strike force gets some speed with a 6 bike Ravenwing squad.
Friday, December 28, 2012
Brother Hesdiel's 2nd Tac, 3rd Co.
The second tactical squad of the 3rd Company is complete.
I used pretty much the same technique as with the first squad, with minor tweaks. This time around I spent more time highlighting each marine's power armour contours to bring out the shape. I then ended up going back to the 1st squad and adding those same highlights. Without them, the dipped green was just too flat looking.
The big differences were with my painting equipment. Two major improvements: new paint brush and the P3 Wet Palette.
I pained these guys mostly with a Winsor & Newton Minature Series 7 Nr. 3 brush. Yes, that brush does cost more than twice what a normal brush costs, however, so far I am very happy with the results. It provides a perfect balance between area coverage and clean lines.
I also tried using the Privateer Press P3 Wet Palette for the first time and I am very impressed. I think it is essential for anyone paining larger groups of figures with the same colour, because it makes the paint last forever on the palette. Especially if you have to custom blend a shade, having it dry on the palette within 10 minutes is very frustrating. With the wet palette, you can keep on painting and painting. One word of caution, it is very easy to get thin paints overly watery, so be careful when using thin colours.
With my core Troops done, it's time to move on to Elites. One squad of Deathwing is coming next.
Thursday, December 6, 2012
Brother Ramiel's 1st Tac, 3rd Co.
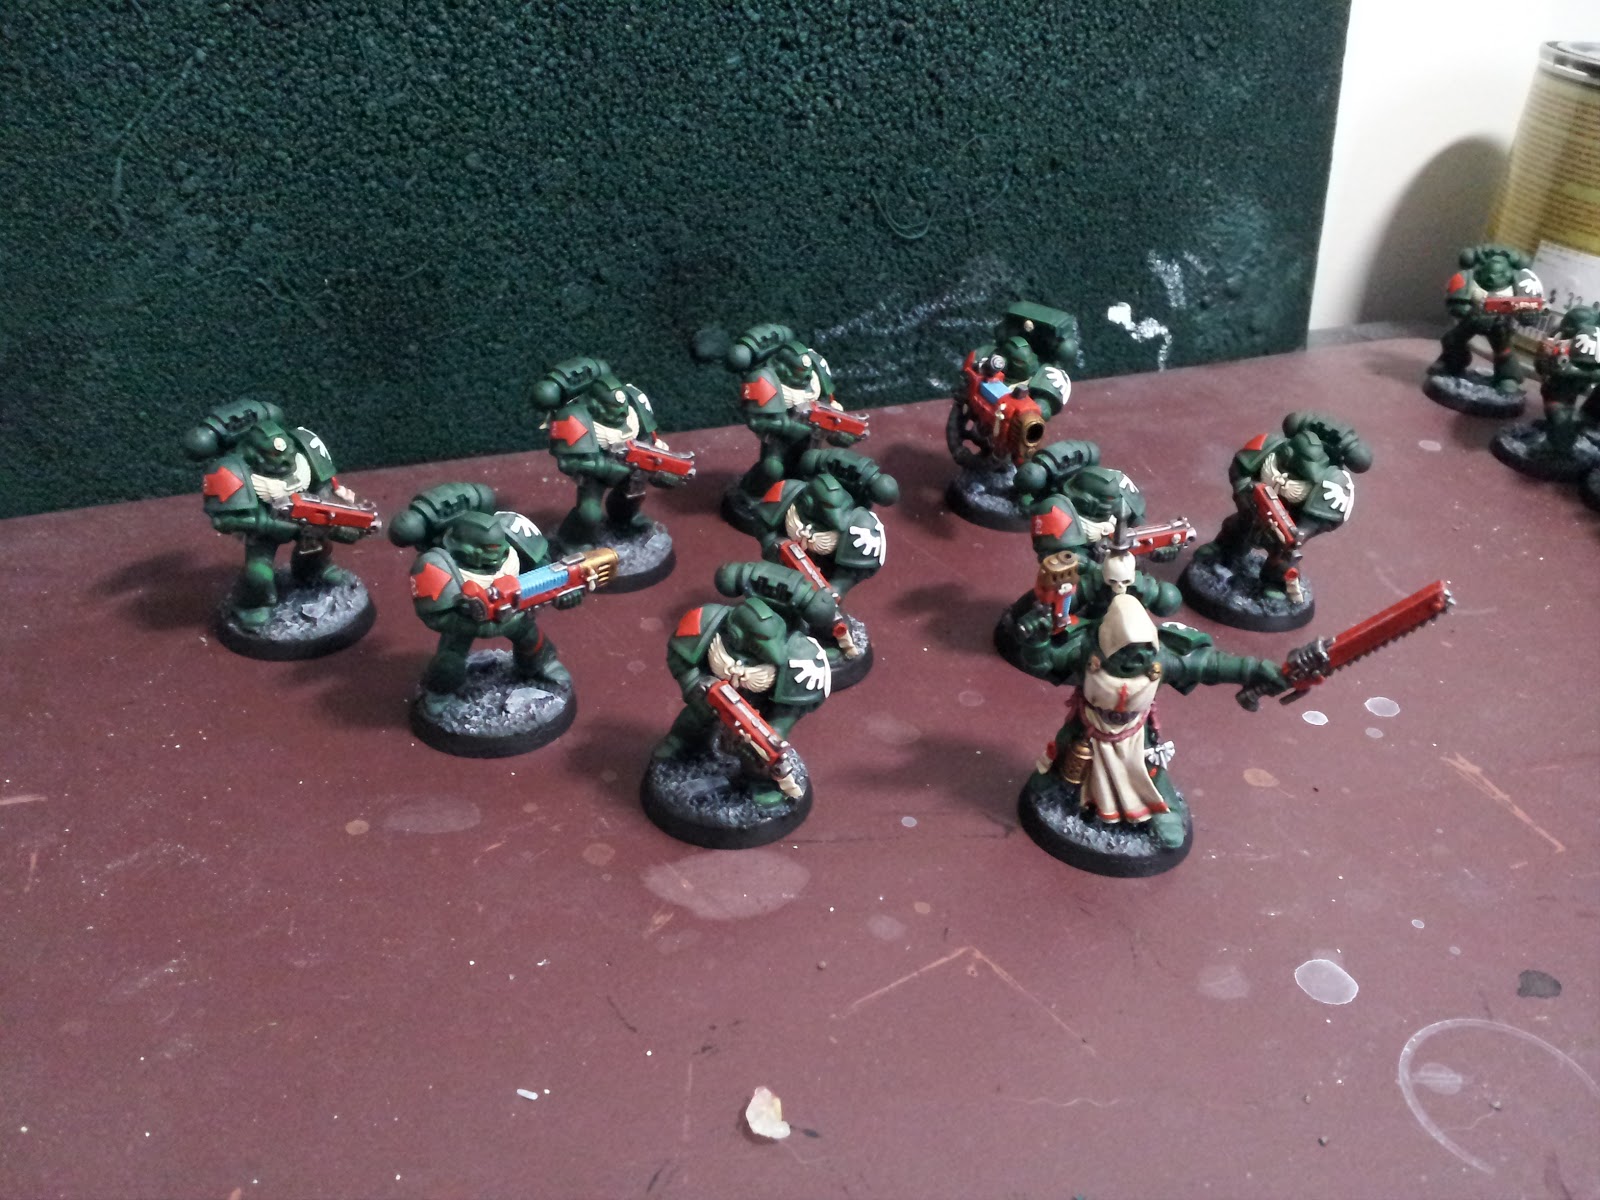
The 1st Tactical squad of the 3rd Company is complete.
For the rank and file Dark Angels I used a DA Green spray primer. Priming in the base colour is the fastest way to get squads painted.
Then I undercoated the guns, robes and insignia in white which allowed the red and bone colours to nicely stand out.
As always, it is critical to have all lines extremely clean so I took a bit longer fixing up all the little paint overruns.
For the metals, I used a single coat of silver or brass and washed with the P3 armour wash.
Given that this army is considerably darker than my Orcs, I switched to the Dark Tone of the Army Painter Quickshade. After the shade was applied, I sprayed matt varnish before adding highlights.
Two things I learned:
1) Red can be effectively highlighted with bone+red mixture. This was a pro-tip from a visiting painter at my local game store Strategies. (thanks!)
2) The Dark Tone still gets pretty much lost in the DA green armour so the effect is subtler than I would have liked. However with some highlighting the power-armour came out reasonably well.
3) Brother Ramiel's bald head is very shiny. I may have to touch it up with some hair effect...
The finished product is definitely good enough for the table! And with only 10 troops per squad, I can put in a bit more time than I did with my Orc grunts.
Next up: Brother Hesdiel's 2nd Tac, 3rd Co. squad.
Monday, December 3, 2012
The Descent Begins
It has happened. I picked up the Dark Vengeance box, exchanged the Chaos minis and doubled up on the Dark Angels. Fantasy Battles is still my number one game, however, I have been impressed with the 40k 6th rules. Fun, simple and with a massive following.
So as my orcs would say: 'Ere we go 'Ere we go!
- 2 Tactical squads
- 2 Deathwing Squads
- 2 small Raven wing squads (which can be combined into one big squad)
- Chapter Master
- Librarian
- Chaplain
This is not a competitive army but it is a great core of an army.
My plan is to paint both the Tacticals first, then a squad of Deathwing, then a character or two, then the bikes and finish with the last Deathwing squad.
Let the dipping begin!
Subscribe to:
Posts (Atom)